How to Enter a Safety Meeting into InUnison
Posted: Nov. 17, 2019
Overview
Creating an event is as simple as creating an instant message or email. With a few clicks, you can enter the details of your first event into your InUnison platform. There are a large variety of events available to record in your platform. For our purposes, we are going to focus on entering a safety meeting event for the roll out of the InUnison program to your staff.
Step 1
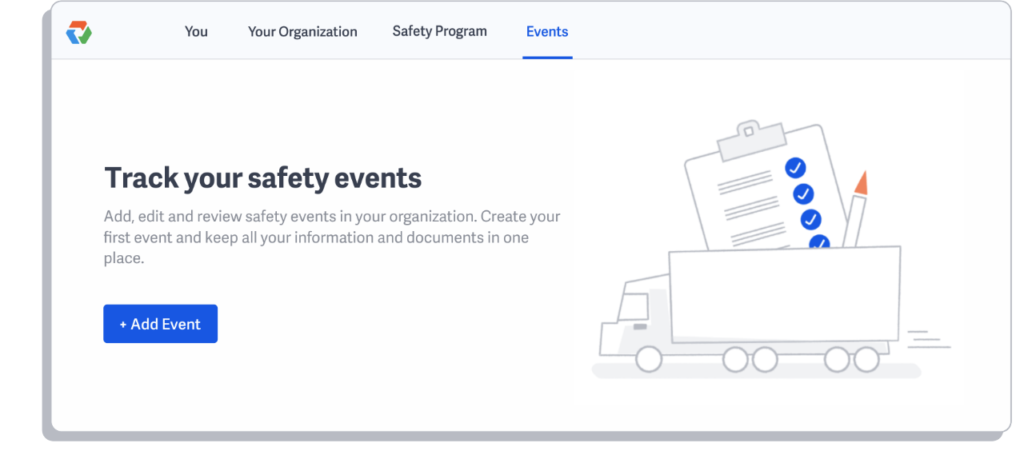
Log in to https://inunison.io and click on “Events”.
Once the “Event Reports” page is displayed, select to click on the “+Add Event” button located on the bottom of the screen.
Step 2
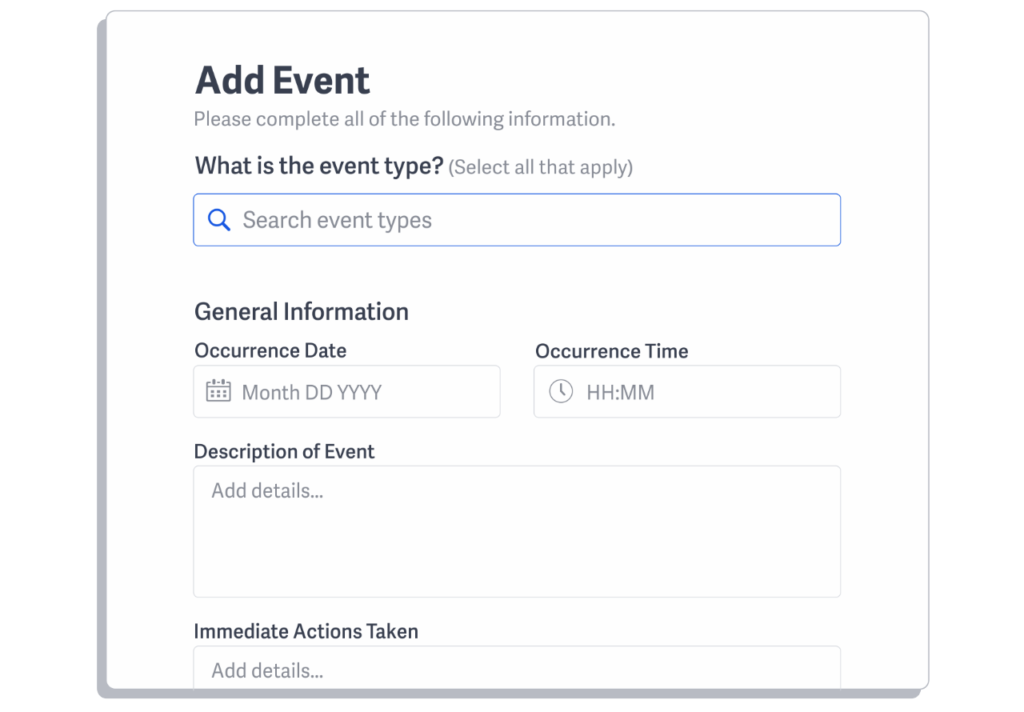
Type in a key word or use the drop-down menu to select the type of event relevant to your situation. For the InUnison roll out, we will select Safety Meeting – Corporate.
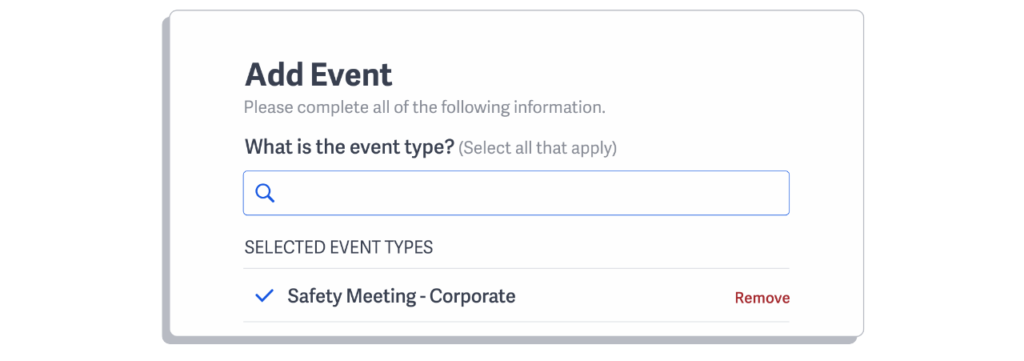
It will be populated in the field below the search field under “Selected Event Type”.
Step 3
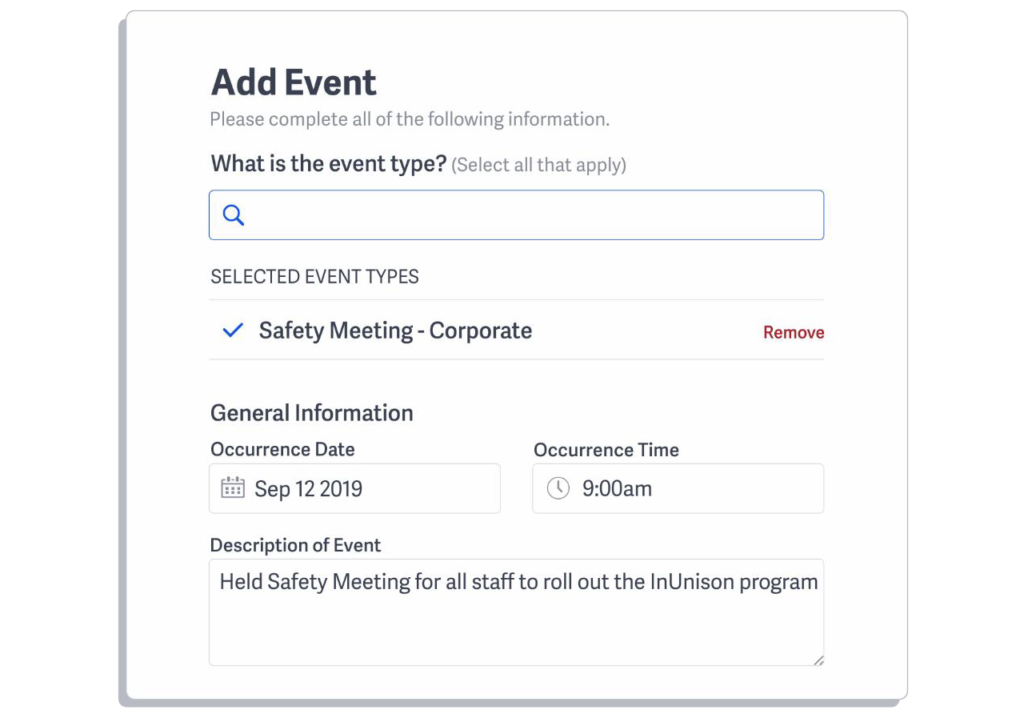
Enter Occurrence Date, Time, and Description of Event.
Step 4
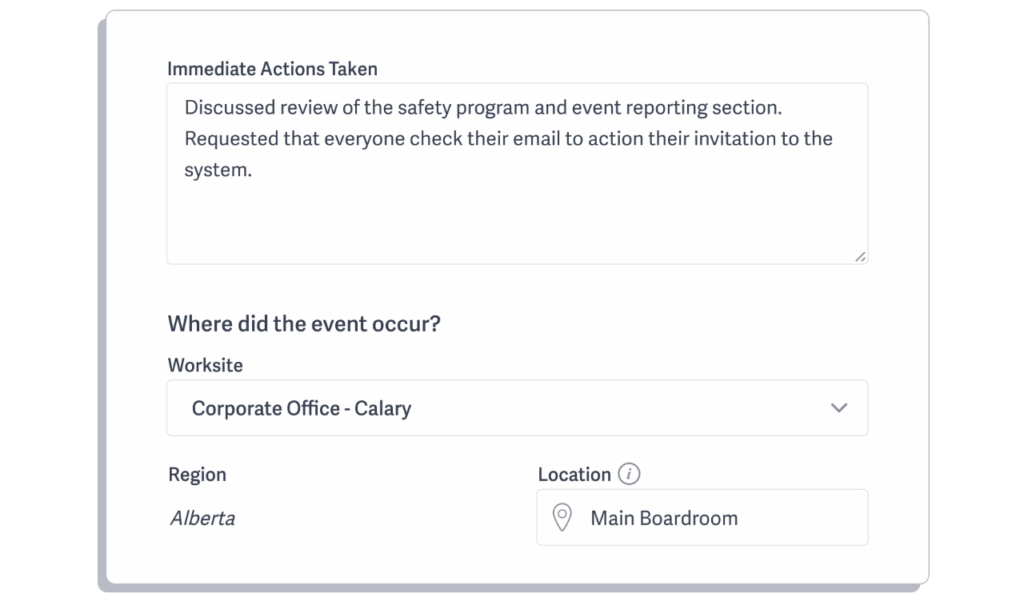
Enter in Immediate Actions and details of where the meeting occurred. If you do not have Worksites active on your profile, the Worksite dropdown menu will not appear.
Step 5
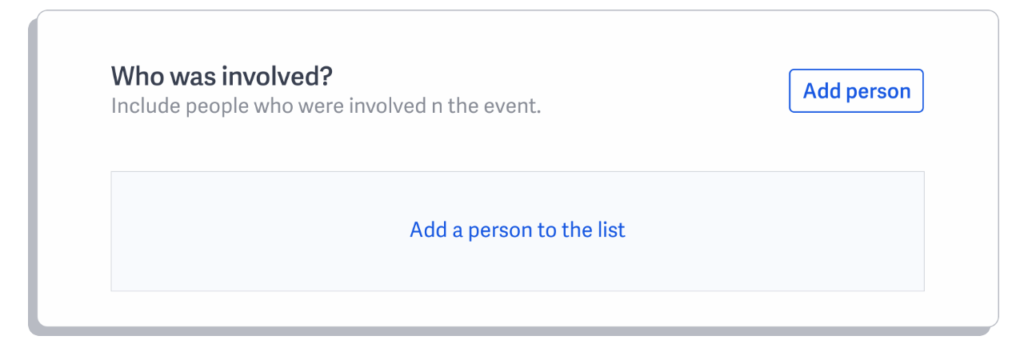
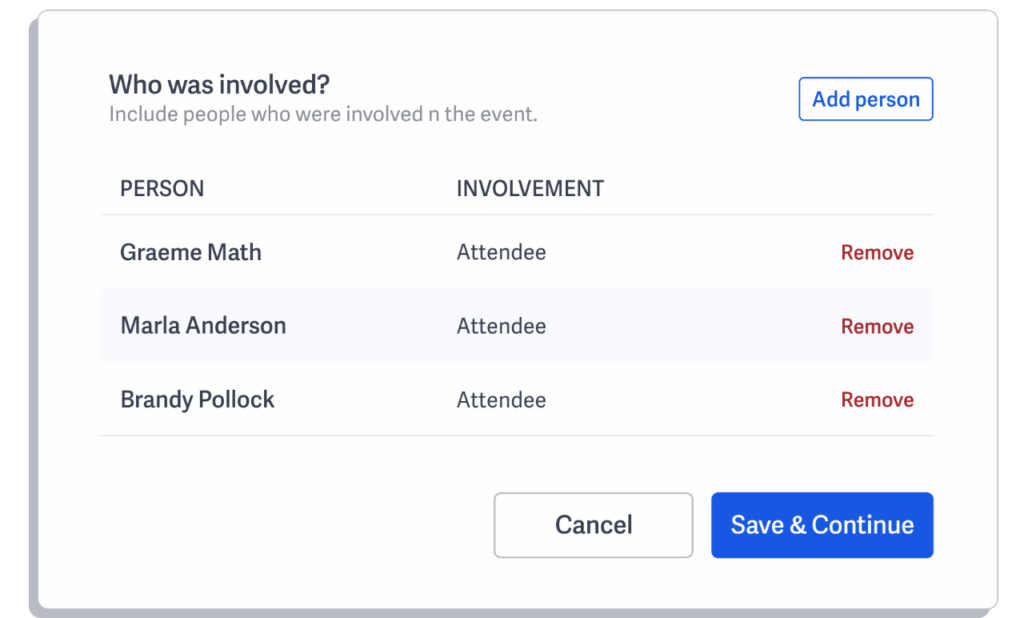
Enter “Who was involved” by selecting the “Add Person” button located on the right side of the screen. Choose the staff members from the dropdown menu. Any staff that have already actioned their invite will have their names listed. Otherwise enter the remaining names by choosing “Other Person” from the dropdown menu and entering their first and last name in the field. Choose “Attendee” for the staff that attended the meeting.

Step 6
Once you have all your attendees listed, click Save and Continue.
Step 7
Upload a copy of your sign in sheet to the event. Just like in an email, you can “Upload Attachments” simply select the “Add Files” button or Drag and Drop files into the center of the screen.
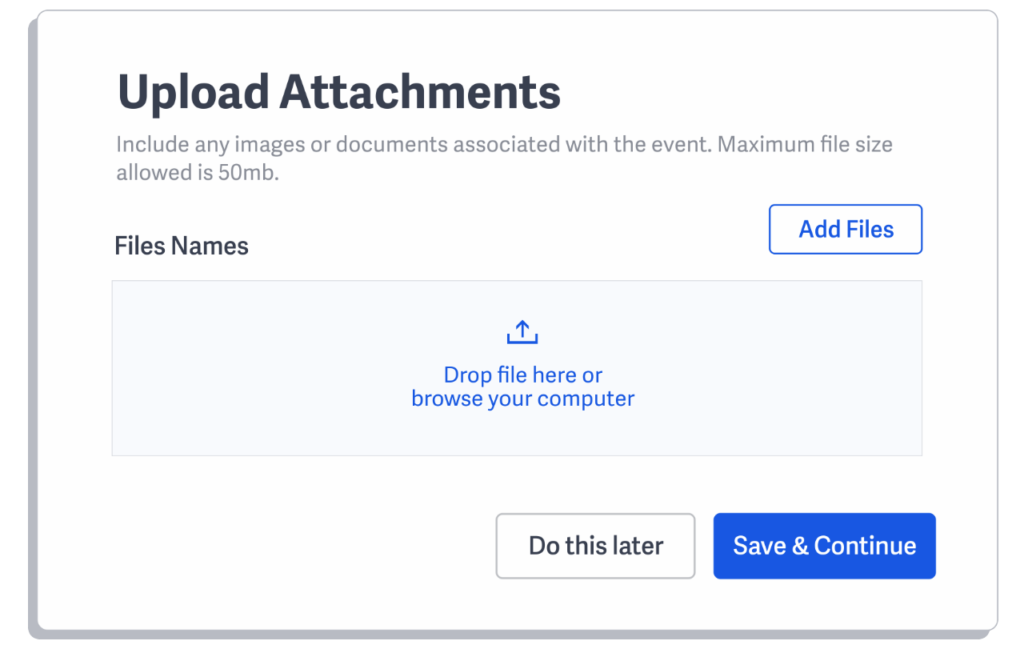
Once you add the attachments select the “Save & Continue” button. If you want to skip this process or do it later, you can simply select “Do this Later”.
Step 8
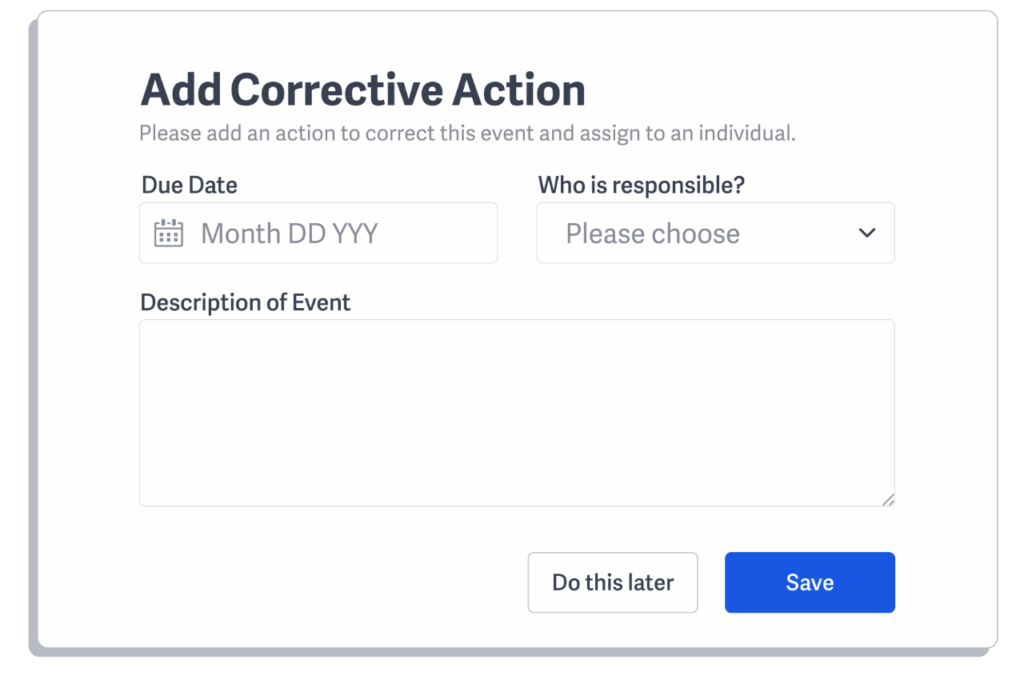
If you identified a “Corrective Action” is required, select the “Yes” button and the system will prompt you to create one. Simply enter “Due Date”, “Who is Responsible” and a “Description” of what needs to be corrected and click “Save”. If you would like to skip this process, please select “Do this later”.
You have now successfully entered your safety meeting into InUnison complete with Corrective Action (if any) and attachments.
If you have any questions, comments, concerns or suggestions, please contact us. We want you to succeed and are here to help!
Related Articles
Helpful Tips
For Adoption of the System Set up an internal challenge to enter a Hazard ID or Near Miss within set […]
Read ArticleIntroducing InUnison Poster
Introducing InUnison provides a universal Occupational Health and Safety (OHS) system enabling any organization to cost-effectively create a culture of safety […]
Read Article